

Customize the Divi Preferred Sources Button Label using the Button Text Setting
This method uses the module's built-in "Button Text" field to replace the default label. You can tailor the wording to your site while leaving the existing button styling unchanged unless you choose to customize them separately.
This method has been tested on, and is compatible with, Divi 5.
Get the Module
The Divi Preferred Sources module is provided by our dedicated plugin. If the module is not already available on your site, download and install that plugin so you can add and configure the module. If you already have it installed, you can continue with the next step.
You can get the plugin here:
Add the Preferred Sources Module
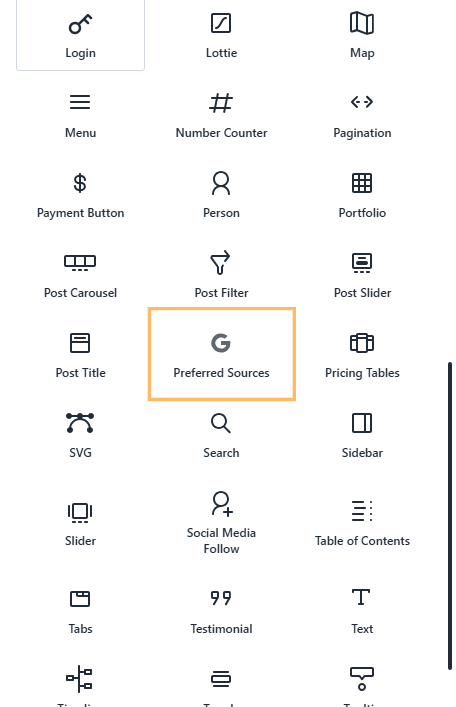
In the layout where you want the button to appear, open the module picker and locate the "Preferred Sources" module. Select its tile to add it to the page.
Open the Module Settings
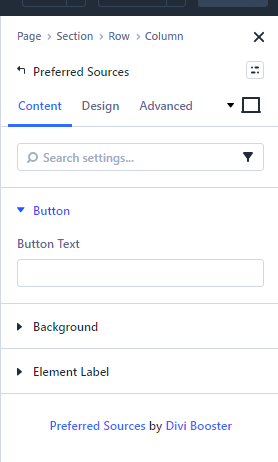
Select the Preferred Sources module in the builder canvas to open its settings. This is where you can edit the button label and other module options.
Change the Button Label
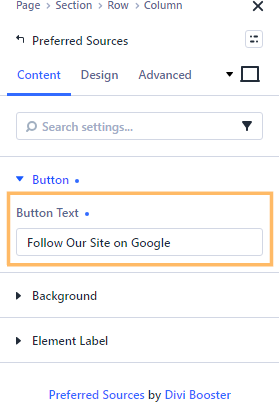
Open the "Button" section and locate the "Button Text" field. Replace the default text with a label that clearly describes the action for your visitors. For example, you could enter "Follow Our Site on Google". Adapt the wording to suit your site's call to action – the example text is not required.
Changing the text leaves the module's Google icon and default button styling in place.
Save the Changes
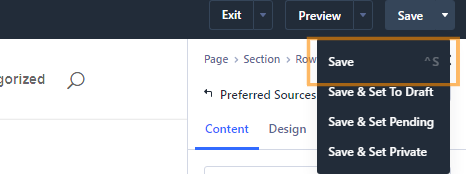
When the label looks right in the builder, open the "Save" dropdown in the page bar and choose "Save". If you are working on a page that has not yet been published, use the builder's publish option as needed so you can check the live result.
Check the Button on the Live Page
Exit the builder and open the page on its live front-end view. Locate the Preferred Sources button and confirm that your custom label is visible.

Conclusion
Your Preferred Sources module now uses a clearer custom button label while keeping its existing appearance. If you have a related customization in mind that this guide does not cover, leave a comment or get in touch and we'll be happy to help.

0 Comments