Divi’s Timeline module is great for showing processes, histories, roadmaps and project milestones. But the default timeline icons won’t always match the story you’re trying to tell.
With Divi Booster, you can add your own custom image icons to Divi’s icon picker, then use them in individual Timeline Items.
Quick Answer: To add custom icons to the Divi Timeline module, first enable custom module icons in Divi → Divi Booster → Site-wide Settings → Icons. Upload your icon images, save the settings, then edit a Timeline Item and go to Timeline Item → Content → Item Content → Icon, and select your custom icon from the icon picker.
To adjust the icon size, go to Timeline Item → Design → Marker → Icon. Enable Use Custom Icon Size, then set the Icon Font Size option that appears.

Add Custom Timeline Icons with Divi Booster
Divi Booster lets you upload custom image icons and make them available in supported Divi icon pickers. This is much simpler than creating a custom icon font, especially if you only need a few brand, client, product or milestone-specific icons.
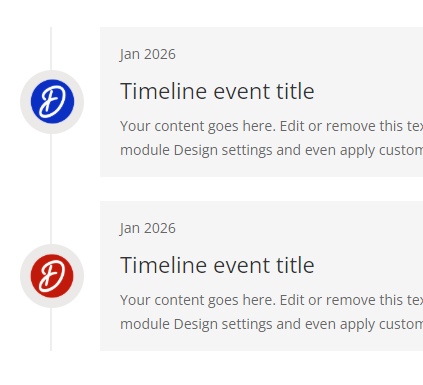
Once added, your icons can be reused across Timeline Items, giving each step of your timeline a clearer visual meaning.
Add the Custom Icons Feature to Divi
To follow the steps below, first install Divi Booster. It adds a site-wide custom icons feature, so you can upload your own image icons once and reuse them in supported Divi modules, including the timeline module, without custom CSS or custom webfont generation.
Get Divi Booster below, then follow the steps to add your icons to Divi’s timeline module icon picker.
Enable Custom Icons in Divi Booster
In your WordPress dashboard, go to:
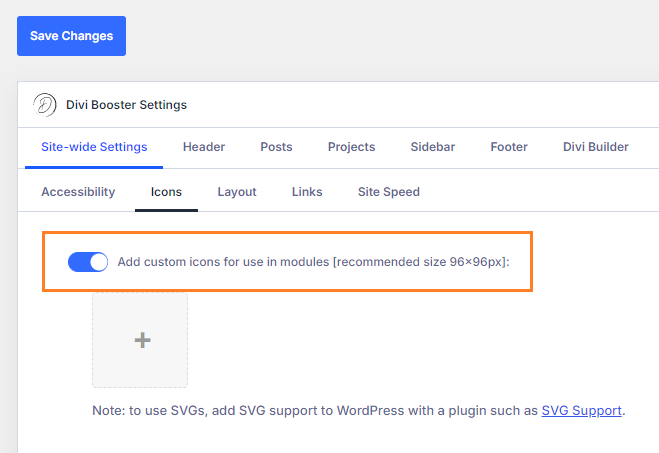
Divi → Divi Booster → Site-wide Settings → Icons
Enable:
Add custom icons for use in modules
This opens the upload controls for adding your own icons.
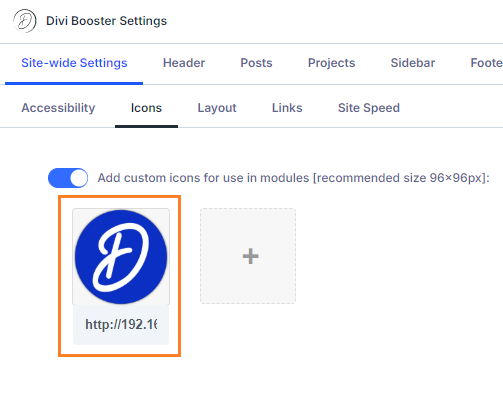
Upload Your Custom Icon
Click the + icon and choose an icon image from the WordPress Media Library, or upload a new one.
For best results, use SVG icons where possible, though transparent PNGs as a good fallback. Ensure your icons are tightly cropped icons with consistent spacing, and use separate image files if you need the same icon in different colours
Save the Divi Booster settings when you’re done.
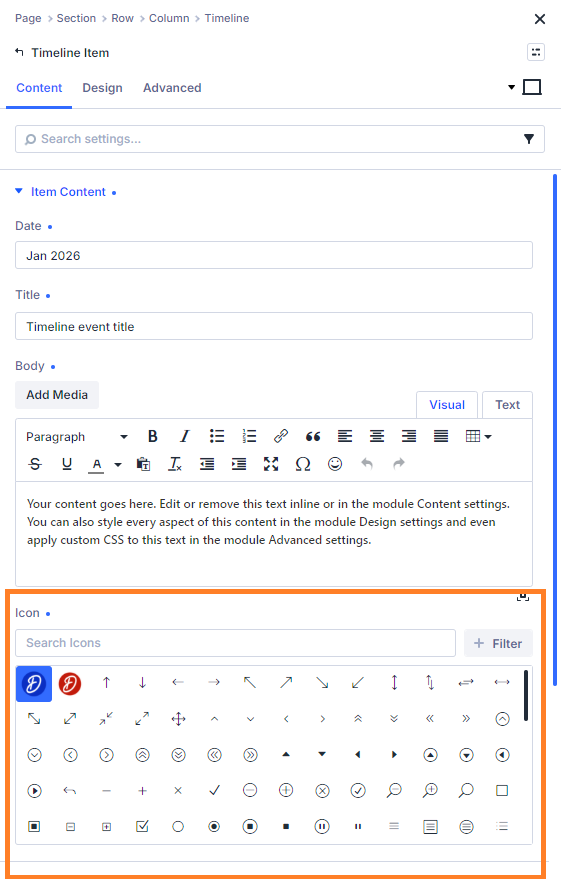
Select the Icon in a Timeline Item
Open the Divi Builder and edit your Timeline module.
Then open the Timeline Item you want to customize and go to:
Timeline Item → Content → Item Content → Icon
Open the icon picker and select your uploaded custom icon.
You can repeat this for each Timeline Item, using different icons for different milestones, steps or events.
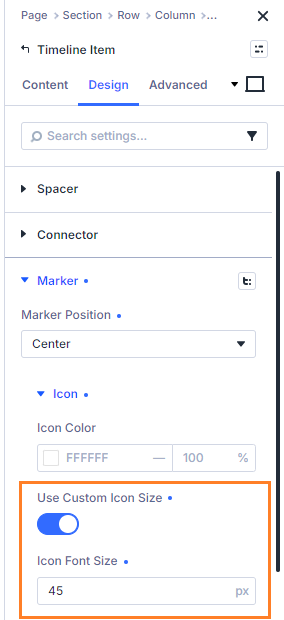
Adjust the Timeline Icon Size
To change the size of the Timeline Item icon, go to:
Timeline Item → Design → Marker → Icon
Enable:
Use Custom Icon Size
Then adjust the Icon Font Size setting that appears.
This lets you make your custom timeline icons feel more balanced with the marker, card content and overall timeline layout.
Save and View the Result
Once you’ve configured your custom timeline marker icons in the Divi timeline module, save the page.
Then exit the Visual Builder and check the page on the front end of your site. Your custom icon should now show in the Divi timeline module markers.
If the icon appears in the Visual Builder but not on the live page, clear any caching plugins, Divi static CSS cache, server cache or CDN cache, then reload the page.
Conclusion
Adding custom icons to Divi Timeline modules is a simple way to make timelines more meaningful, branded and visually useful. With Divi Booster, you can upload your own icons once, then select them directly from the Timeline Item icon picker without building a custom icon font.

0 Comments