QR codes are a useful way to send offline visitors to your website from flyers, posters, packaging, event signage, menus, business cards, PDFs and printed handouts. But if you use a normal static QR code, you usually won’t know whether anyone scanned it.
Tracked QR codes solve this by recording each scan before redirecting the visitor to the final URL. This lets you see which printed materials, events, campaigns or placements are actually sending people to your site.
The easiest way to do this is with Divi QR Code Module, which lets you add QR codes directly inside Divi layouts and enable scan tracking from the module settings.
Add Tracked QR Codes in Divi with Divi QR Code Module
This method uses Divi QR Code Module, a Divi module from Divi Booster for adding QR codes directly inside Divi layouts.
With scan tracking enabled, you can see:
- how many times each QR code has been scanned
- which campaigns are getting the most scans
- which destination URLs are receiving QR code traffic
- when a QR code was first scanned
- when it was most recently scanned
- scan activity over a selected date range
This is useful for comparing flyers, event materials, product packaging, printed menus, direct mail campaigns and other offline marketing.
Install and Activate Divi QR Code Module
First, install and activate Divi QR Code Module on your WordPress site. Once active, it adds a QR Code module to the Divi Builder, letting you create QR codes directly in your Divi pages and templates.
Add tracked QR codes to Divi
Divi QR Code Module lets you create QR codes inside the Divi Builder, enable scan tracking, group scans by campaign, and view reports from your WordPress dashboard.
Add the QR Code Module to Your Divi Layout
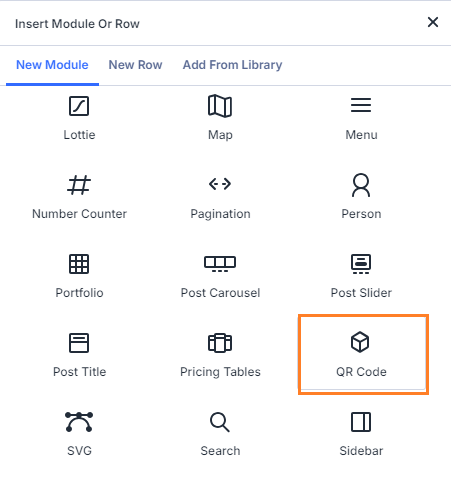
Open the page, post, or Theme Builder template where you want the QR code to appear. In the Divi Builder, add a new module and select the QR Code module.
Enter the QR Code URL
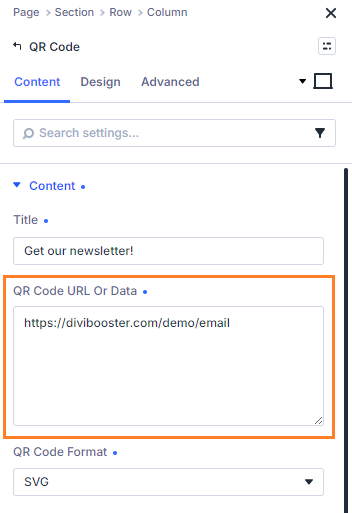
In the module settings, enter the URL you want the QR code to open when scanned. Scan tracking is intended for normal web links, so use an http or https URL.
Enable Scan Tracking
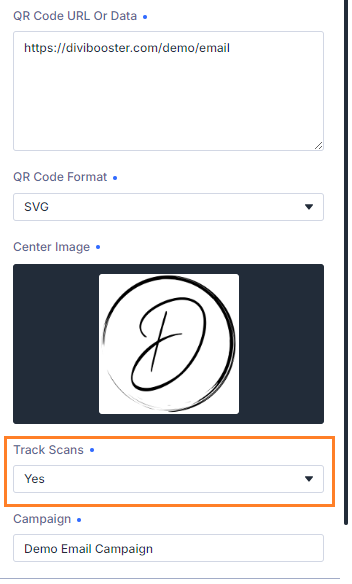
In the QR Code module settings, enable the "Track Scans" option. When this is enabled, the QR code will route scans through your site first, record the scan, and then redirect the visitor to the destination URL.
Enter a Campaign Name
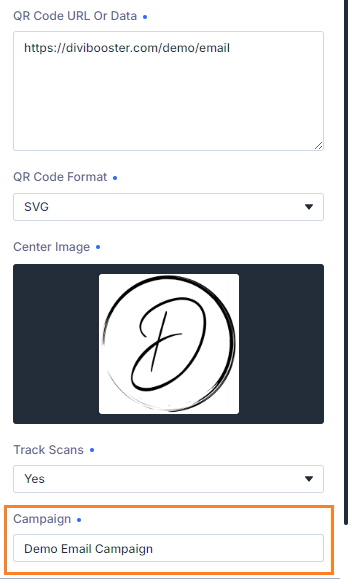
Optionally enter a campaign name for the QR code. Campaigns let you group related QR codes together in the reports. Use (exactly) the same Campaign name in different QR code modules to have their scan counts grouped together in the scan report.
For example, you might use campaign names such as “Spring Flyer”, “Conference Booth”, “Restaurant Menu”, or “Product Packaging”. If you leave the campaign field blank, the module will use the QR code title / label as the campaign name.
Save the Page and View It on the Front End
When you're ready, save your Divi layout, then open the page on the front end of your site.
Scan the QR Code
Scan the QR code using your phone or another QR code scanner. You should be redirected to the destination URL as normal, while the scan is recorded in the background.

Review the Scan Summary, Graph and Table
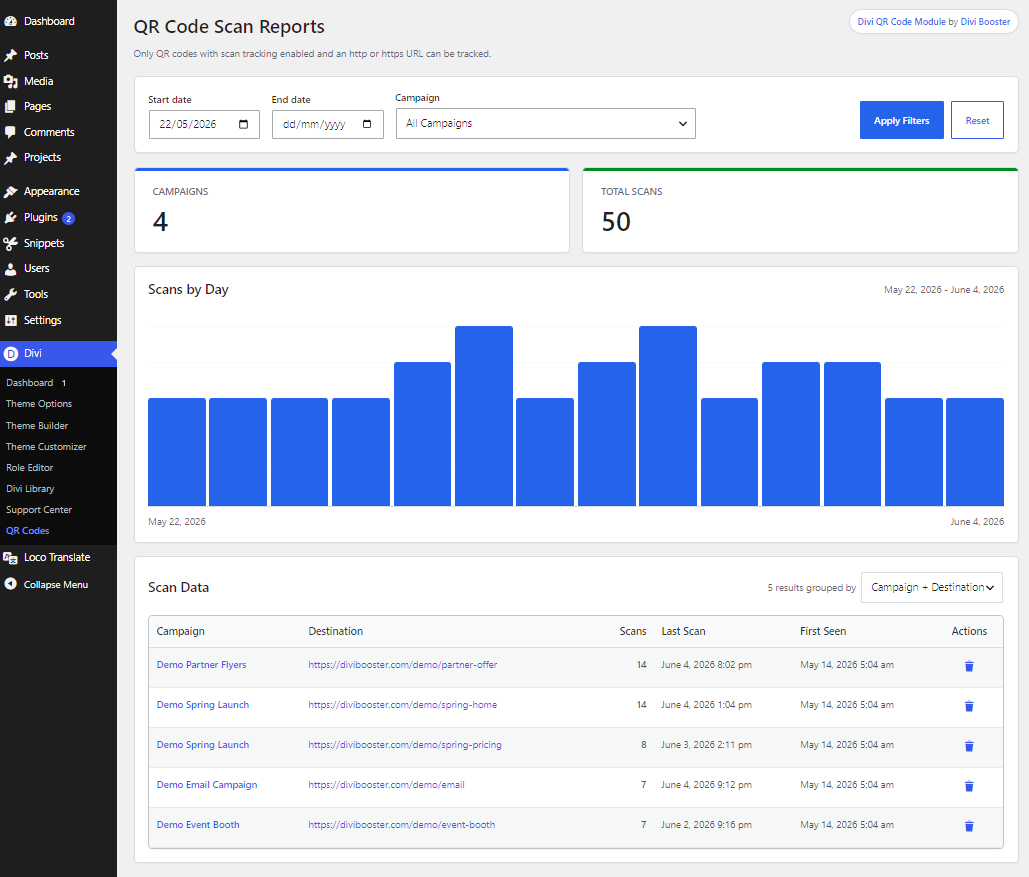
In your WordPress dashboard, go to the QR code reports page. You’ll find the reports under the Divi admin menu as “QR Codes”, or under Tools if the Divi menu isn’t available.
The report shows a summary of tracked campaigns and total scans, a scans-by-day graph, and a table of recorded scan activity. This lets you quickly see which QR codes are being used, when scans are happening, and which campaigns or destination URLs are performing best.
Adjust the Table Grouping
Use the “grouped by” control in the scan data table to change how the report is organized. You can group results by campaign, destination, campaign plus destination, or individual scans.
Grouping by campaign helps you compare marketing efforts, while grouping by destination helps you see which URLs are getting the most QR code traffic.

Tip: If you scan the QR code several times while testing, you can delete those test scans from the scan data table before using the QR code publicly. This gives your campaign a clean starting point.
Filter the Report
Use the date filters to view scans from a specific time period. You can also filter by campaign to focus on one campaign at a time.

Customize the QR Code Design
Once your tracked QR code is working, you may want to customize its appearance so it better matches your brand.
A good next step is this guide on how to add a branded QR code in Divi, which shows how to style your QR code and make it feel more integrated with your site design.
If you want to go further, you may also be interested in this more technical guide to creating a QR code generator in Divi. Or, if you’re creating contact-card QR codes rather than trackable URL QR codes, see this guide on how to create a QR vCard with Divi QR Code Module.
Start Tracking QR Code Scans in Divi
Divi QR Code Module lets you create QR codes inside the Divi Builder, enable scan tracking, group scans into campaigns, and review scan activity from your WordPress dashboard.
FAQs
Can I track QR code scans in Divi?
Yes. With Divi QR Code Module, you can enable scan tracking for normal http and https URLs. Scans are recorded before the visitor is redirected to the final destination URL.
Can I group multiple QR codes into one campaign?
Can I track different destination URLs separately?
Conclusion
Tracked QR codes make it easier to see whether your flyers, posters, product packaging, event displays, menus and other offline materials are actually sending visitors to your website.
With Divi QR Code Module, you can create the QR code directly inside Divi, enable scan tracking, assign a campaign name, and review the results from your WordPress dashboard.
If there are other QR code features you’d like to see added, please leave a comment below and let me know what would be useful for your workflow.

0 Comments