Adjust Lightbox Arrow Size in Divi Gallery using Divi Gallery Booster / Divi Booster
This method shows how to resize the lightbox navigation arrows in a Divi Gallery by using the Lightbox Arrows design group provided by the Divi Gallery Booster and Divi Booster plugins. It offers a simple, no-code UI where you can set an exact font size (e.g., 80px) and verify on the front end that the arrows render at the chosen size for clearer, more accessible navigation.
Access the Gallery Module Settings
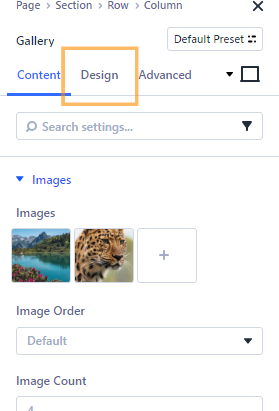
Begin by opening the page with your existing Divi Gallery module in the Divi Builder. Click on the Gallery module to open its settings. Switch to the "Design" tab at the top of the settings modal.
Find the Lightbox Arrows Option
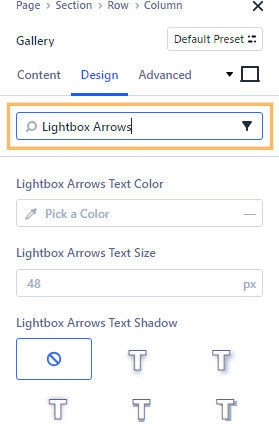
In the Design tab, use the settings search box and type “Lightbox Arrows.” This will filter the options to show the Lightbox Arrows design settings.
Set the Lightbox Arrow Size
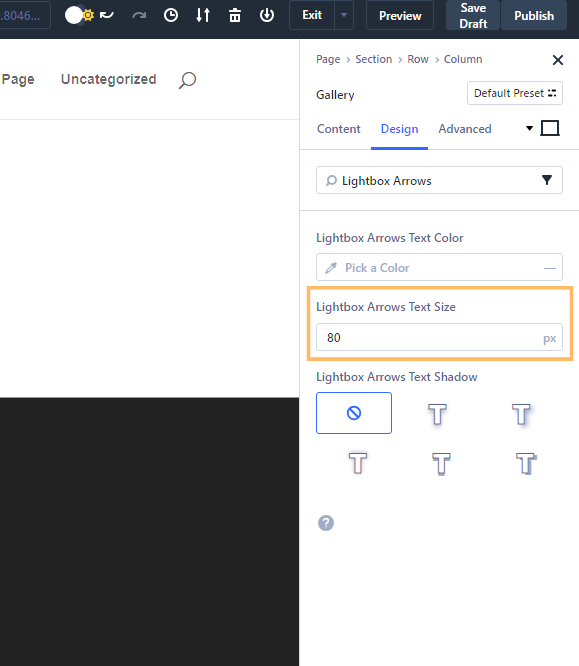
Within the Lightbox Arrows section, locate the Text Size field. Enter your desired arrow size in pixels (for example, 80) to make the lightbox navigation arrows bigger and more noticeable. Make sure to click outside the field or on the modal title to confirm your input.
Save and Publish Your Changes
Once you’ve set your preferred arrow size, save the Gallery module settings and publish your page by clicking the Publish button in the Divi Builder toolbar. This ensures your changes go live for visitors.

Check the Arrow Size on the Front End
Visit your page on the front end and open a gallery image in the lightbox. You should see the navigation arrows at your new chosen size, making it easier for users to click through your images.
Conclusion
Adjusting the lightbox arrow size in your Divi Gallery helps users navigate images more comfortably and matches your website’s style. With just a few quick steps, you can create a great visual experience for every visitor!


0 Comments