Change the Divi Gallery Module Grid Image Scaling using Divi Gallery Booster / Divi Booster
This method demonstrates how to use the Image Scaling option added to the Gallery module by the Divi Gallery Booster and Divi Booster plugins. We'll set it to 'Actual Size' using the Divi Builder interface.
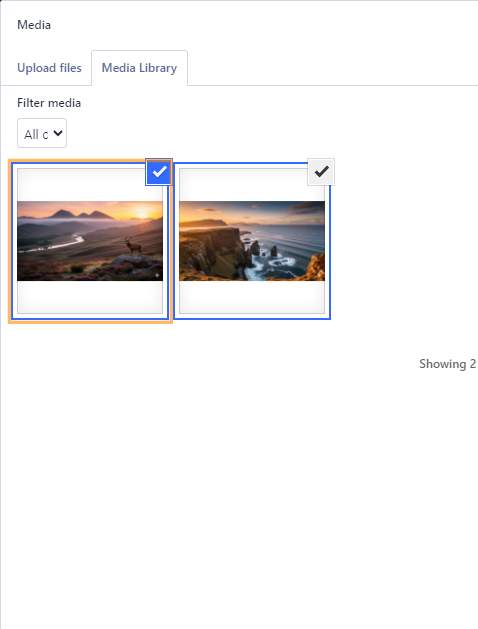
Add a Gallery Module and Select Images for Your Gallery
Open the page where you'd like to add your gallery, and use the Divi Builder to insert a Gallery module. Once the module settings appear, click the "Add Gallery Images" button. In the Media Library tab, simply click on the images you want to include—selected images will be highlighted. When you're ready, click the "Select" button to add your chosen images to the gallery.
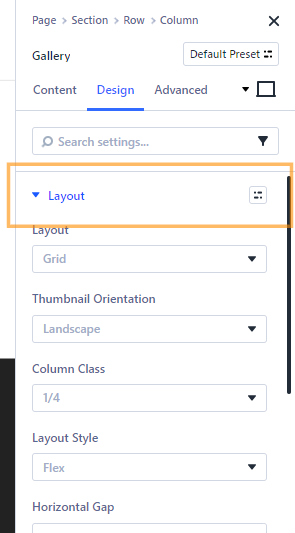
Open the Design Tab and Layout Section
With your images added, switch to the Design tab in the Gallery module settings. Expand the "Layout" section to access the available layout options.
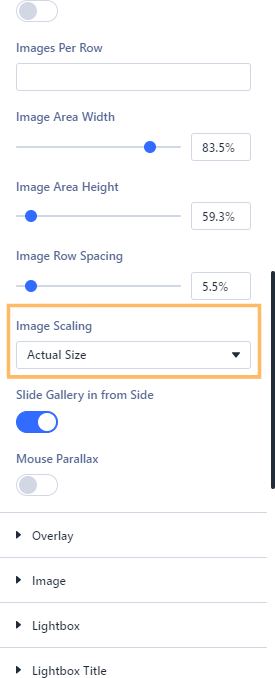
Set Image Scaling to 'Actual Size'
Within the Layout section, find the Image Scaling option. Click the dropdown and select your desired scaling method. We'll use "Actual Size" in this example.
The available options are:
– Fill (default): Stretches the image to fill the container, possibly distorting it.
– Cover: Scales the image to cover the container, cropping if necessary.
– Fit: Scales the image to fit inside the container, preserving aspect ratio.
– Actual Size: Displays the image at its original size without scaling. Note that if the original image is larger than the available space it will be cropped such that only a portion of the image is visible.
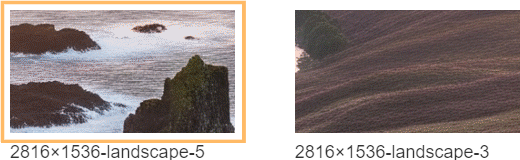
Save and Preview Your Gallery
After making your changes, publish or update your page. Then view it on the front end to see your gallery displaying images at their actual size. The images should maintain their original proportions and not be resized by the module.
Conclusion
That's it! You've successfully set your Divi Gallery Module to display images at your desired scaling using the options provided by Divi Gallery Booster or Divi Booster.


0 Comments