Set a Custom Semi-Transparent Lightbox Background in the Divi Gallery Module using Divi Gallery Booster / Divi Booster
This method demonstrates how to apply a custom semi‑transparent overlay to your Gallery lightbox using the “Lightbox Background Color” option added by both Divi Gallery Booster and Divi Booster. It’s a quick, no‑code approach that keeps styling within Divi and includes a front‑end check to confirm the overlay adopts your desired color.
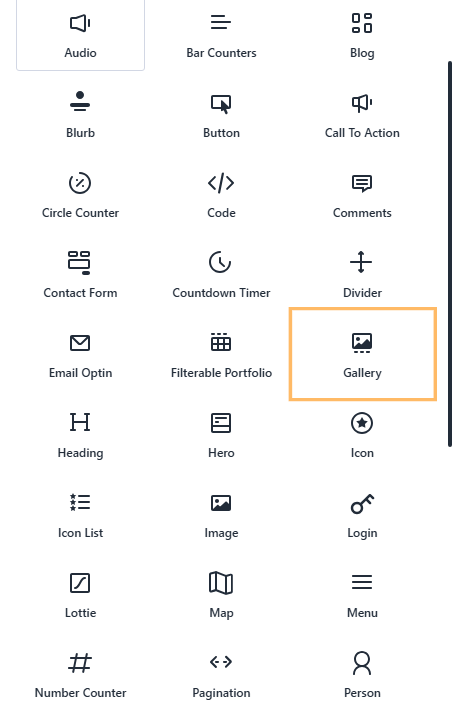
Add the Gallery Module and Choose Your Images
To get started, add a Gallery module to your page within the Divi Builder, then select the images you’d like to include in the gallery. You can use images already in your Media Library or upload new ones. Once you’ve chosen your images, they’ll appear in your Gallery module preview.
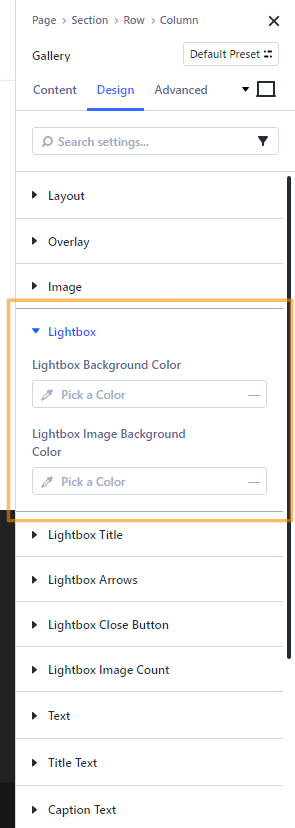
Open the Gallery Module’s Design > Lightbox Settings
With your Gallery module selected, go to the Design tab, locate the "Lightbox" section, and expand it. This is where you control the appearance of the background overlay when an image is opened in the gallery’s lightbox.
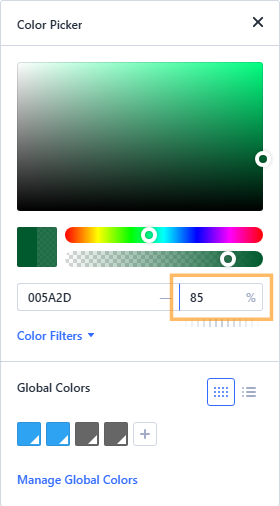
Choose a Custom Lightbox Background Color and Set Opacity
In the Lightbox section, find the "Lightbox Background Color" option and open the color picker. Here you can enter a specific hex code (for example, #005A2D for a rich green), and then adjust the Opacity slider or type in your desired transparency (such as 85%). This lets you achieve the perfect blend of color and transparency to suit your site’s style.
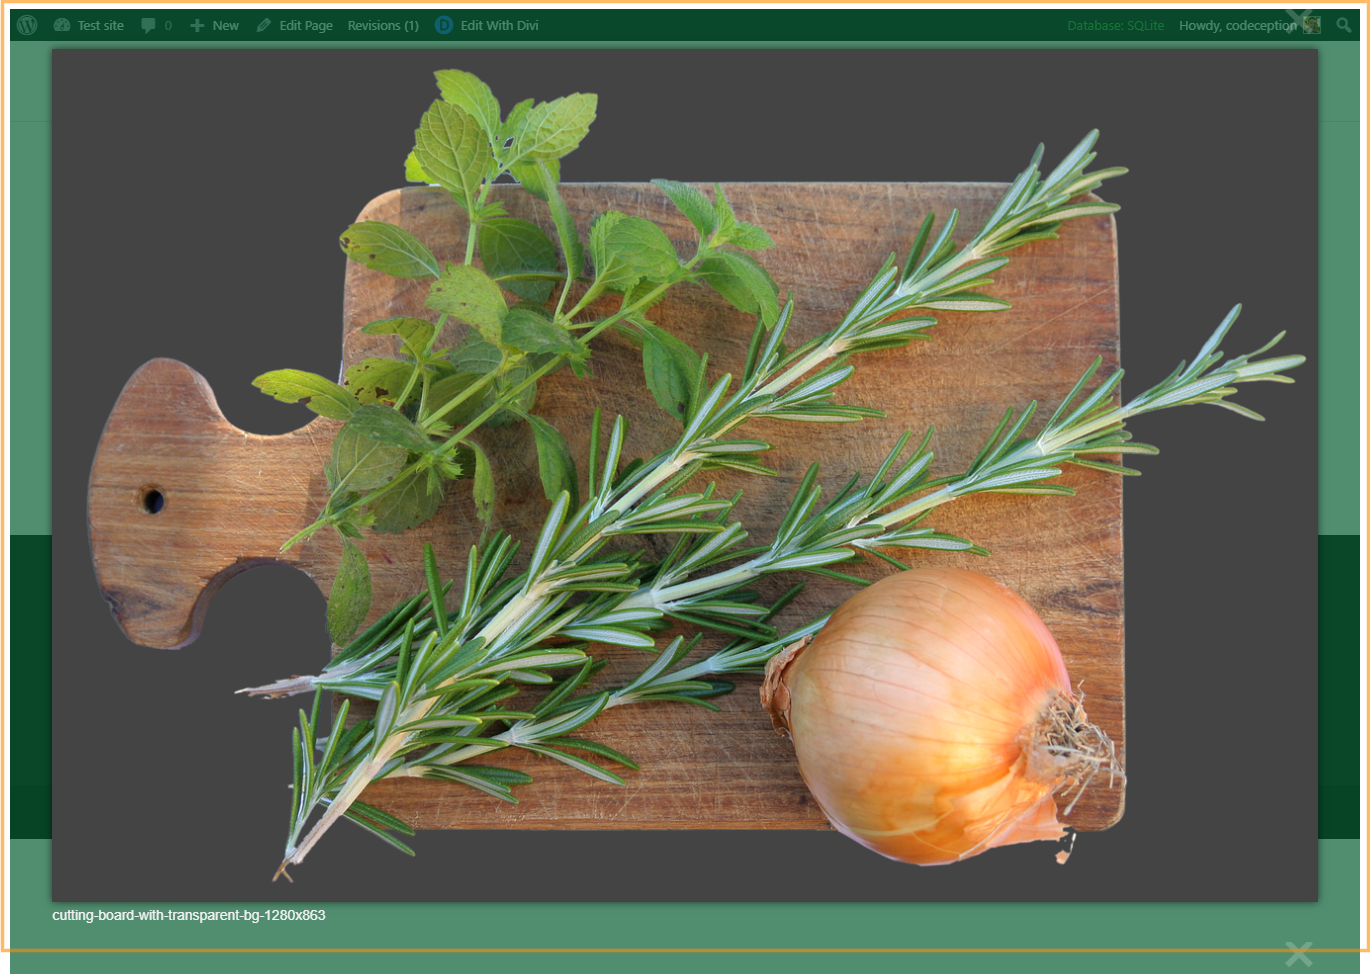
Publish and View Your Customized Lightbox
Once you're happy with your settings, publish the page. Then, visit your page on the front end, click any gallery image, and you’ll see your new semi‑transparent overlay in action. Confirm that the color and transparency appear just as you set them—your images and captions should now stand out against your branded lightbox background.
Conclusion
That’s it! You’ve learned how to easily adjust the Gallery lightbox overlay color and opacity in Divi for a look that fits perfectly with your site’s design.


0 Comments