The Divi Countdown Timer module is great for adding countdowns to events or sale endings. By default, the countdown timer uses the timezone configured in WordPress Settings. However, there are times you may want to set a different timezone specifically for the countdown timer without affecting the rest of your site. Let's explore how to achieve both settings.
Set the Countdown Timer Timezone in the WordPress Settings
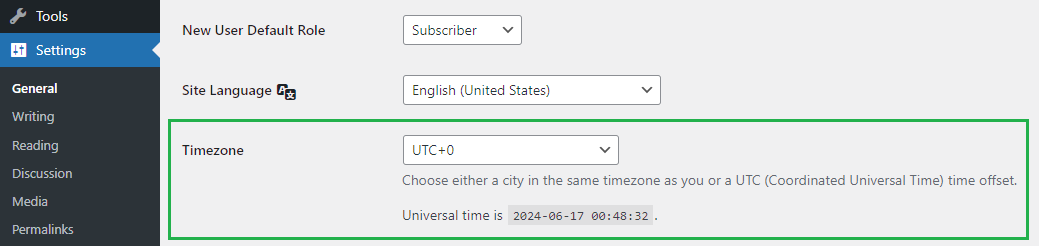
The Divi Countdown Timer module relies on the global timezone setting configured in WordPress. By default, this timezone can be set in the WordPress Admin Panel as follows:
- Go to WP Admin > Settings > General.
- Locate the Timezone option.
- Select your desired timezone from the dropdown menu.
- Save the changes.
Changing the timezone here will affect the entire site, including all time displays and the countdown timer module. This ensures consistent timekeeping across the site.
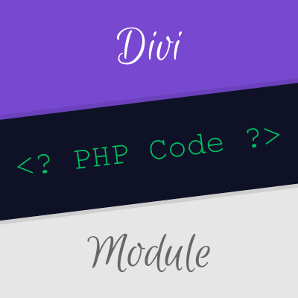
Set the Countdown Timer Timezone using PHP
If you prefer to change the timezone only for the Divi Countdown Timer module, you can do so by adding a custom PHP code snippet to your site. This method allows the countdown timer to use a different timezone independently of the global WordPress setting.
Here's the PHP code to achieve this:
/* === Change countdown timer module timezone === */
/* Src: https://divibooster.com */

function divibooster_custom_gmt_offset() {
    return '-5'; // Your custom GMT offset, e.g., for EST its -5
}

function divibooster_add_countdown_timer_timezone_filter( $props, $attrs, $render_slug, $_address, $content ) {
    if ( 'et_pb_countdown_timer' === $render_slug ) {
        add_filter( 'option_gmt_offset', 'divibooster_custom_gmt_offset' );
    }
    return $props;
}
add_filter( 'et_pb_module_shortcode_attributes', 'divibooster_add_countdown_timer_timezone_filter', 10, 5 );

function divibooster_remove_countdown_timer_timezone_filter( $output, $render_slug ) {
    if ( 'et_pb_countdown_timer' === $render_slug ) {
        remove_filter( 'option_gmt_offset', 'divibooster_custom_gmt_offset' );
    }
    return $output;
}
add_filter( 'et_pb_module_shortcode_output', 'divibooster_remove_countdown_timer_timezone_filter', 10, 2 );

/* === END: Change countdown timer module timezone */
Related Post: Adding PHP to the Divi Theme
You can add this into the functions.php file of a child theme, or via a plugin such as Code Snippets.
Here's what the code is doing:
- Custom GMT Offset Function: The
diviBooster_custom_gmt_offsetfunction sets the custom GMT offset. For example,return '-5'sets the timezone to EST. Set this to your desired timezone offset. - Adding the Filter: The
diviBooster_add_countdown_timer_timezone_filterfunction adds the custom GMT offset filter specifically for theet_pb_countdown_timermodule. - Removing the Filter: The
diviBooster_remove_countdown_timer_timezone_filterfunction removes the custom GMT offset after the countdown timer has been rendered to avoid affecting other modules.
By implementing this code, you ensure that your Divi Countdown Timer module displays the correct time based on a specified timezone while leaving other parts of your site unaffected. This method is particularly useful for sites with users in different timezones or for events that need a distinct countdown timezone.

0 Comments