Divi's Dynamic Content feature is great for enhancing your post/page templates with post-specific information. While Divi includes an option to show the Post Created Date using Dynamic Content, there is no equivalent option for the Post Updated Date. If you'd like to add the Post Updated Date via Divi's dynamic content feature, here's how to do it:
How to Add the Post Updated Date in Divi's Dynamic Content using Divi Dynamic Content Extended
Divi Dynamic Content Extended enhances Divi's dynamic content with a variety of new features, including adding a "Post Updated Date" option to the dynamic content menu. You can use it as follows:
Open your post/page in the Divi Builder
First, open the post/page you want to add the Post Updated Date to in the Divi Builder. This can be done by navigating to the post/page in your WordPress admin area and clicking on the "Edit with Divi" button.
Open the module settings
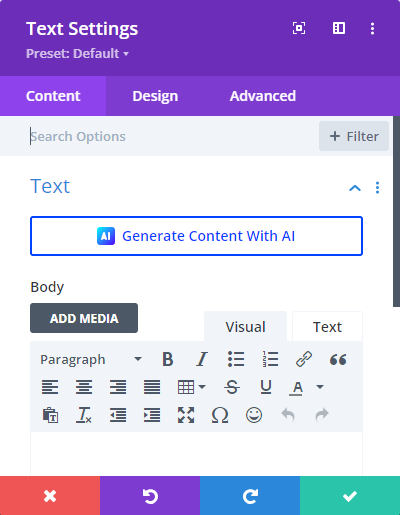
Next, open the settings for the module you wish to add the post last modified date to. In this example, we'll add it to a text module. Locate the text module and click on the settings icon to open the module settings
Click the dynamic content icon next to your setting
Locate the setting you want to add the Post Updated Date to, and hover over it to reveal the dynamic content icon. The dynamic content icon looks like a database symbol. Click on this icon to open the dynamic content menu.
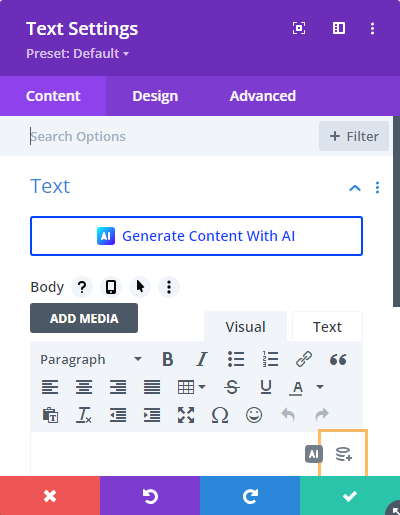
Now that the dynamic content icon is visible, click on it to open the dynamic content menu.
Select 'Post Updated Date' in the dynamic content menu
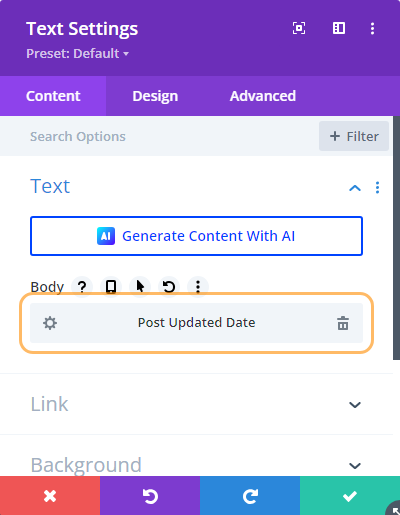
The dynamic content menu should now appear, with the Post Updated Date available as one of the options. Scroll through the menu to find the "Post Updated Date" option and click on it to select it.

See the dynamic content preview
You should now see that your field has been set to take the value of the post's last updated date. The preview will show the date the post was last updated.
Open the dynamic content field settings (optional)
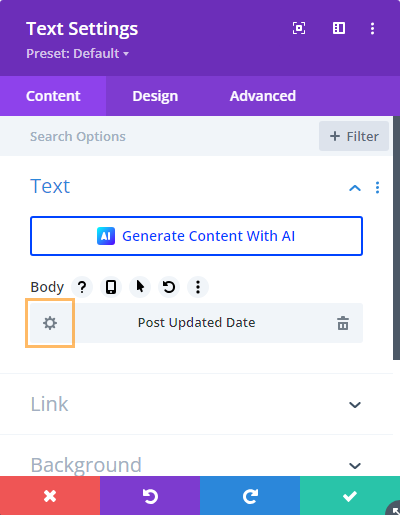
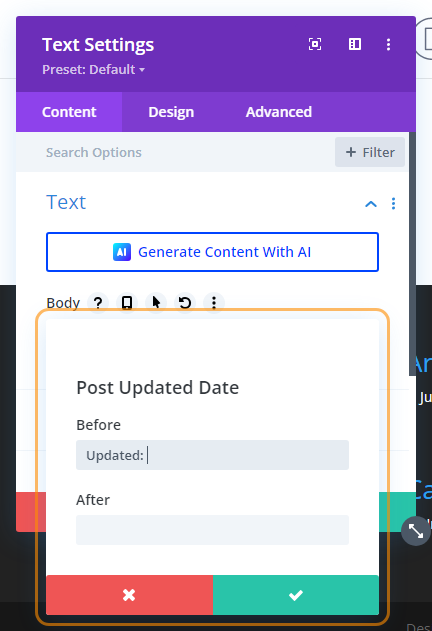
If you'd like to add text before or after the date, you can do so by opening the dynamic content field's settings. Click on the settings icon next to the dynamic content field to open the settings.
Add text before the date (optional)
In the dynamic content settings, you can add text before or after the date. For example, you could add 'Updated: ' before the date. Enter the text you want to add in the appropriate field.
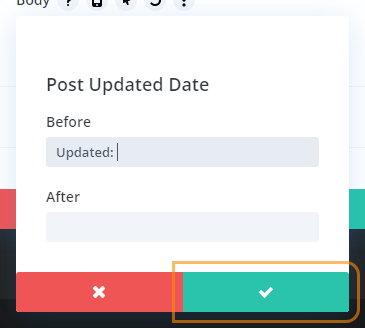
Save the dynamic content settings
Once you've added any text you want to include, save the dynamic content settings by clicking the save button.
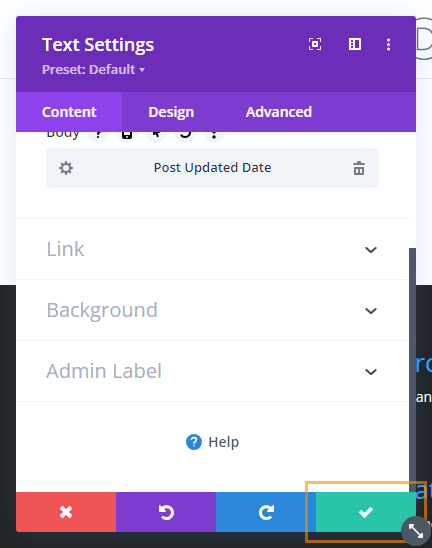
Save the module settings
Now save the module settings to apply the changes. Click the save button in the module settings to save your changes.
Save the post/page
Save the post/page to confirm your changes. Click the save button in the Divi Builder to save the post/page.
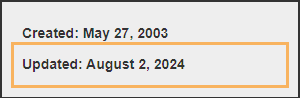
Now view your page on the front-end to see the changes. Navigate to the front-end of your site and view the page to see the post's last modified date displayed on the module.
You should now see the post's last modified date displayed on the module. The date should be formatted according to your WordPress settings.
Conclusion
You have now successfully added the Post Updated Date to your Divi module using Divi Dynamic Content Extended. If you have any questions or need further assistance, please feel free to ask.


0 Comments