The Divi theme includes the ability to create single page websites with menu links that link to specific sections in the page. This lets your users easily navigate around a long single-page site. You might notice, however, that the link colors sometimes don't look quite how you expect.
In the default Divi header, links to the current page are highlighted. However, on a single-page site this can mean that most or all links are highlighted, which can be confusing to users. This can be fixed using either the Divi Booster plugin or custom CSS.
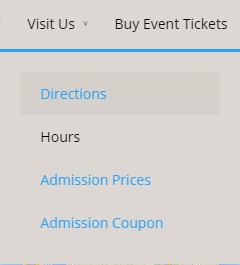
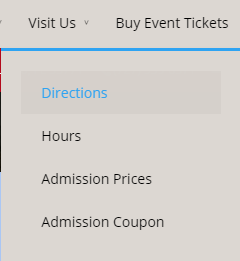
An Example of the Problem
The following example shows the coloring of a single page menu links after clicking onto the "hours" section of the "Visit Us" page. In this case all of the links are highlighted, as they are all links to the current page), except for the "hours" link which has been marked as visited and is now shown in black. This gives almost the opposite effect of what you may expect – i.e. that the most recently clicked link is highlighted while the others are a more neutral color unless hovered.
Fix the Menu Link Colors on Divi Single Page Navigation using Divi Booster
Divi Booster adds hundreds of new features to Divi, including the option to easily fix the menu link colors in single page nav menus. Here's a walk-through of how to use this Divi Booster option:
Get Divi Booster
Our popular Divi Booster plugin adds hundreds of new features to Divi, including the one we need here.
If you haven't already done so, grab your copy of Divi Booster now.
Upon purchase, you'll be provided with a copy of the divi-booster.zip plugin file. Download the plugin zip file to your computer, ready for installing in the next step.
If you have already purchased Divi Booster, you can obtain the Divi Booster plugin zip file from within your Divi Booster account.
Install Divi Booster
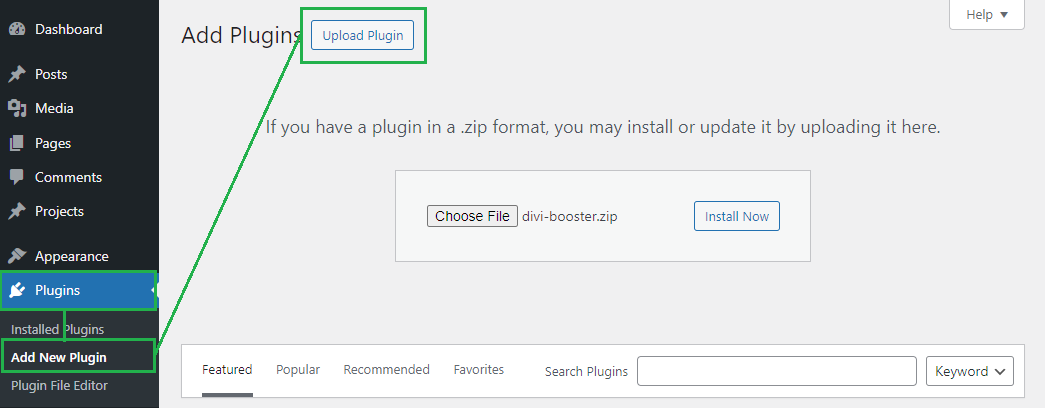
The plugin zip file can then be uploaded to your own site at:
WP Admin > Plugins > Add New Plugin > Upload Plugin
There, click "Choose File", locate and select your divi-booster.zip file and then click "Install Now". Once uploaded, click the button to activate the plugin and the feature will be added to Divi.
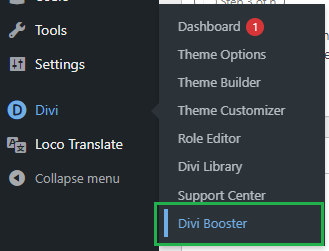
Open the Divi Booster Settings Page
Now, in your WordPress dashboard, look for the "Divi" option in the left-hand menu, then click on it. Under the Divi menu, you'll find "Divi Booster” – select it to open the Divi Booster settings page. This will bring up Divi Booster's main settings that can be applied globally to Divi.
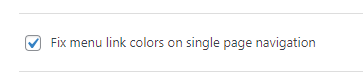
Enable the "Fix menu link colors on single page navigation" Option
In the Divi Booster settings, navigate to "Header" then "Main Header". Here you'll see a range of options for modifying the default Divi header. The one we need is the one called "Fix menu link colors on single page navigation". Check the box beside it to enable it.
This setting adjusts the classes applied to the menu items, meaning that it will automatically use the existing colors from your menu settings – there's no need to manually set any colors.
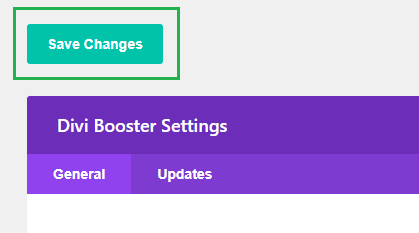
Save the Divi Booster settings
Now, save your Divi Booster settings by clicking the "Save Changes" button at the top of the settings page. This will apply the updated Divi Booster settings to your site.
View the Result
Now, view your menu on the front-end and you should see that the link colors behave in a more intuitive way, with links having your menu's neutral text color until you hover over them.
Fix the Menu Link Colors on Divi Single Page Navigation using CSS
If you're comfortable adding code to your site, you can adjust the styles of the menu items to create a more intuitive color scheme using CSS. Here's how to do it.
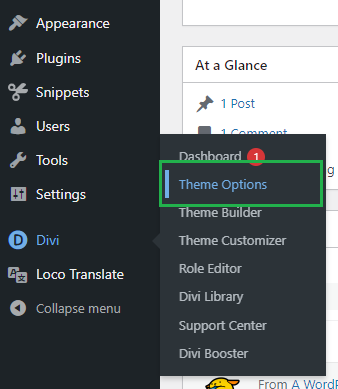
Open the Divi Theme Options
Divi's Theme Options include various settings for configuring Divi's overall behavior. To open the theme options, from your WordPress dashboard, click on "Divi" in the sidebar menu, then the "Theme Options" sub-menu item.
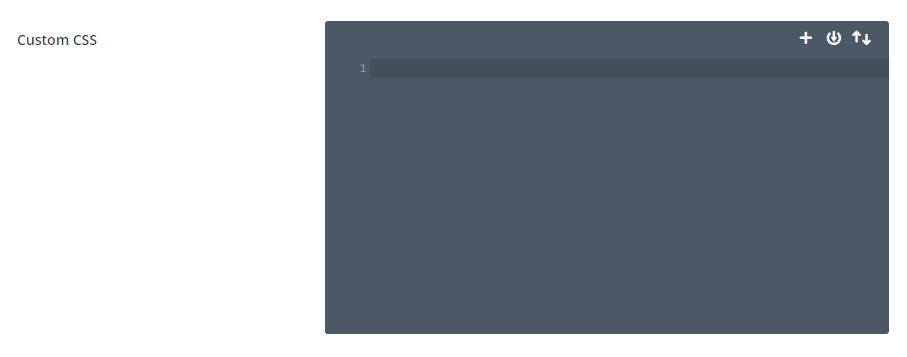
Navigate to the "Custom CSS" Setting
Now click on the "General" tab in the Divi Theme Options, which brings us to Divi's main site-wide settings. Scroll to the bottom and you should see a box called "Custom CSS" which allows you to add your own CSS code alongside that already added by Divi:
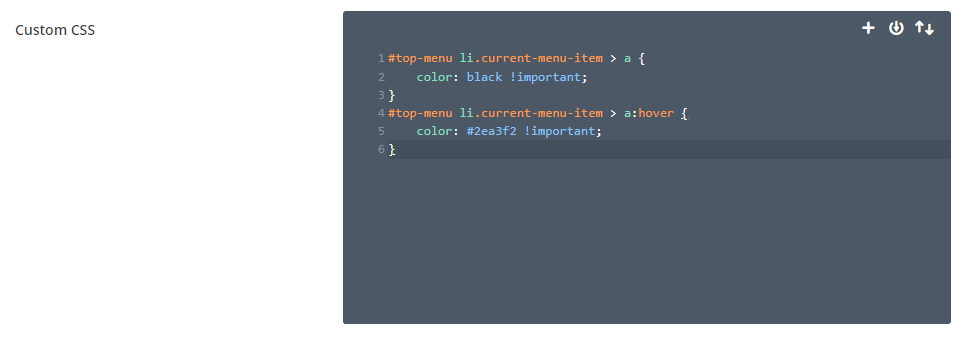
Add the CSS Code to Fix the Single Page Nav Link Colors
Enter the following CSS code into the "Custom CSS" box. It will set the normal unhovered link color to black and make the links blue when hovered. You can adjust these colors to fit your design.
#top-menu li.current-menu-item > a {
	color: black !important;
}
#top-menu li.current-menu-item > a:hover {
	color: #2ea3f2 !important;
}
Related Post: Adding CSS to the Divi Theme
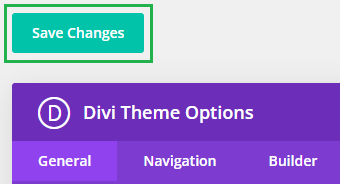
Save the Divi Theme Options
To apply the changes, we need to save the Divi Theme Options. This can be done by clicking the "Save Changes" button at the top or bottom of the Divi Theme Options area:
View the Result
Now, if you view your menu on the front-end, you should see that the links have a more normal feel to them, with only the currently hovered link being highlighted.
Conclusion
So there we have it, two ways to correct the link coloring on the Divi single page navigation menu: using either Divi Booster or custom CSS. I hope this has helped improve your single site menu design! If you have any questions about it, please ask in the comments.

As always, Dan, this fix "just works". Thanks for solving yet another vexing Divi problem!