Divi Dynamic Content Extended adds two new dynamic content fields to help streamline multi-author websites: the Author Website and Author Email. These fields allow site creators to leverage the website and email address set in the user profile of each post's author, seamlessly incorporating this information into their Divi layouts.
Adding Author Website and Email to User Profiles
Before utilizing these new fields, authors must have their website and email information saved in their WordPress user profiles. Here's how to update user profiles:
- Navigate to the WordPress dashboard.
- Click 'Users' and select the desired author.
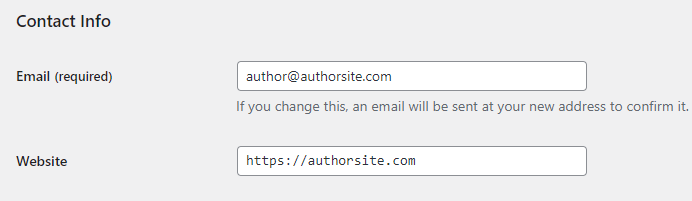
- Scroll down to the 'Contact Info' section.
- Enter the author's website URL in the 'Website' field.
- Make sure the author's email address is current in the 'Email' field.
- Click 'Update User'.
Using Author Website and Email in Divi
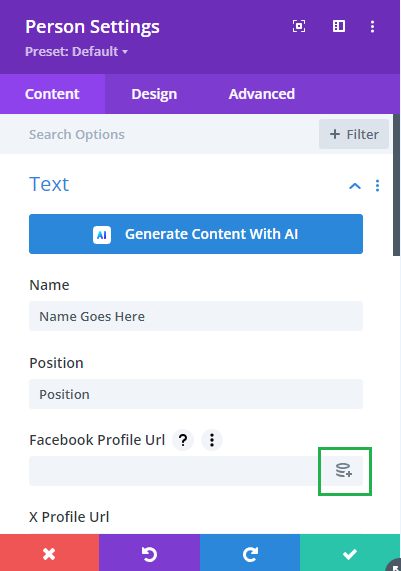
Once the user profiles are configured, you can dynamically display this author information on your posts or pages. To do this, hover over the module setting field you'd like to add the author website or email to, and click the dynamic content icon, as shown:
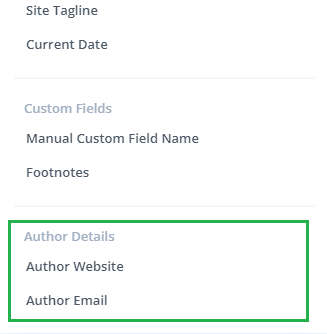
Then select the relevant dynamic content option from the menu that appears. The added author website and email fields appear under the "Author Details" heading.
The Author Website and Author Email fields were added in Divi Dynamic Content Extended v1.1.1.
Example Uses for the Dynamic Author Fields
There are plenty of ways to make use of the author fields. For example, you could create a "Visit the Author's Website" button or a contact form that allows visitors to send a message directly to the author, as shown below.
Creating a "Visit the Author's Website" Button
If you want to add a link back to the website of the author of the current post, then an easy way to do it is with a button module, like so:

- Add or edit a post in Divi.
- Insert a Button Module where you want the author's website link.
- Open the module's settings.
- In the 'Link' tab, hover over the Button Link URL option and click the dynamic content icon that appears.
- Select 'Author Website' from the Dynamic Content options.
- Set the button text, such as "Visit the Author's Website."
- Save and exit the Button Module.
An ideal place for the button module is in a theme builder template so that it is automatically added to all necessary posts.
Setting Up a 'Send a Message to the Author' Contact Form
Divi Dynamic Content Extended adds support for dynamic content on additional module settings including the contact form email field. This means it can be used to set up a contact form that sends to user's message directly to the post author, like so:

- Add a Contact Form module on the author page.
- Open the module's settings.
- Navigate to the 'Email' settings.
- Hover over the "Email Address" field and click the dynamic content icon that appears.
- Select 'Author Email' from the Dynamic Content options.
- Configure other form settings such as fields, success message, and spam protection.
- Save and exit the Contact Form module settings.
Again adding this to a theme builder template will let you add the relevant posts automatically and it will pick up the correct author email for each post.


0 Comments