The Divi theme includes a menu module which is well-suited to adding menus both in your custom headers and footers and also as a handy navigation element within individual pages. To improve readability or fit your site design, it is often desirable to add separator bars between the menu items.
The Divi menu module doesn't include a built-in option to add separator lines between menu items, but you can easily add them with the Divi Booster plugin. Alternatively, we can add separator bars to your menu modules using Custom CSS.
This tutorial explains how to add vertical separator bars to the menu module using each of these methods.
Note: If your menu is in the standard Divi header, please follow this post on how to add separator bars to links in the main header instead.
Before
Before we get started, let's compare how the menu will look before and after our change. Here's a standard menu module without vertical separator lines.

After
Here's the appearance of the same menu with vertical separators applied. As you can see, the items are more visually distinct from one another.

Add Vertical Bars to the Menu Module with Divi Booster
Divi Booster includes the option to add vertical separator bars to the menu module. You can use this option to easily add vertical separator bars between the menu module links, without the need for code. This feature is available in Divi Booster version 3.4.0 and later.
Open your Page for Editing in the Visual Builder
Browse to the page you want to apply the change to. Then, in the WordPress admin bar at the top of the page, click the "Enable Visual Builder" button to open the page for editing in the Divi Builder.

Open your Menu Module's Settings
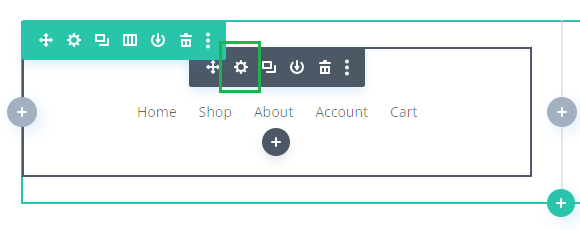
Locate the menu module you want to modify, or add it to your layout if you haven't already. Then, hover over the module to reveal the module buttons. If your Divi Builder is set to use "Click" mode, you may need to click on the module instead of hovering. Click the "Gear" icon to open the module's settings.
Enable the "Vertical Separator Bars" option
Now let's enable the menu module vertical separator bars feature. To do so, switch to the "Design" tab in the menu module settings, then expand the "Layout" settings section. Here you should see the "Vertical Separator Bars" setting added by Divi Booster. Set the option to "YES" to enable it.
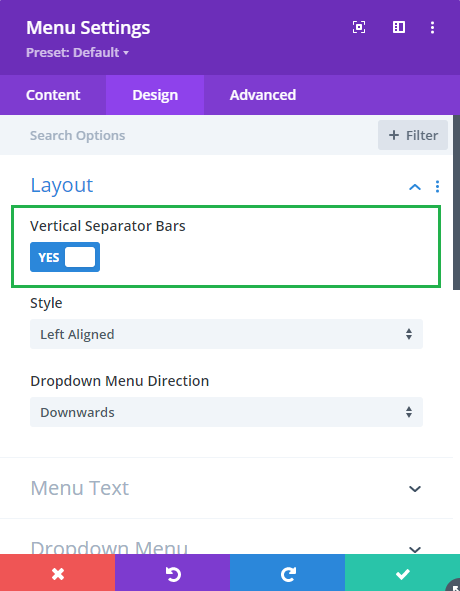
Please note that the vertical separator bars won't be shown in the visual builder preview of the module, but will be displayed when the menu is viewed on the front-end.
Save the Module Settings
To save the changes to the module, click the green check mark button at the bottom of the module settings.

Save the Page
When you are ready, save the whole page by opening the Page Settings toolbar, by clicking on the round purple "three-dots" button at the bottom of the visual builder are, and clicking on the "Save" button.

View the Result
Now, view your page on the front-end and you should see the vertical bars separating your menu items. If they don't show up right away, clear any caches you are using on your site and reload the page.
Add Vertical Bars to the Menu Module with CSS
If you are comfortable working with CSS code, you call also add vertical menu link separator lines by adding Custom CSS code to Divi. These steps explain how to do it.
Open the Divi Theme Options
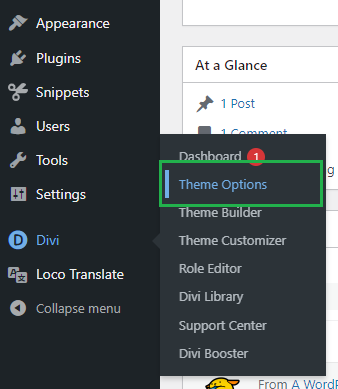
Divi's Theme Options include various settings for configuring Divi's overall behavior. To open the theme options, from your WordPress dashboard, click on "Divi" in the sidebar menu, then the "Theme Options" sub-menu item.
Navigate to the "Custom CSS" Setting
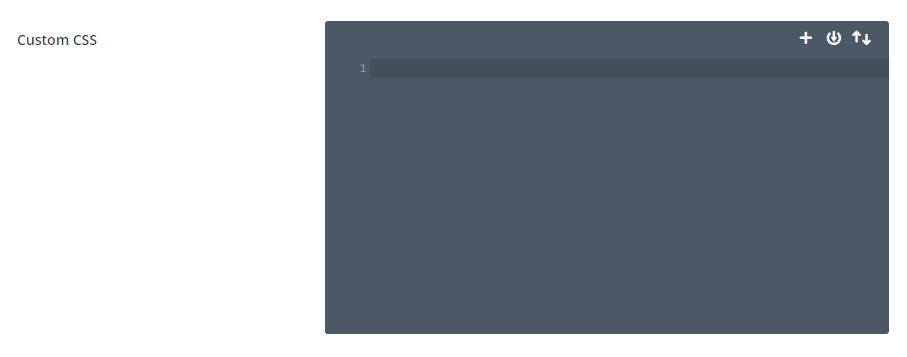
Now click on the "General" tab in the Divi Theme Options, which brings us to Divi's main site-wide settings. Scroll to the bottom and you should see a box called "Custom CSS" which allows you to add your own CSS code alongside that already added by Divi:
Add the Vertical Separator Bar CSS to the Custom CSS box
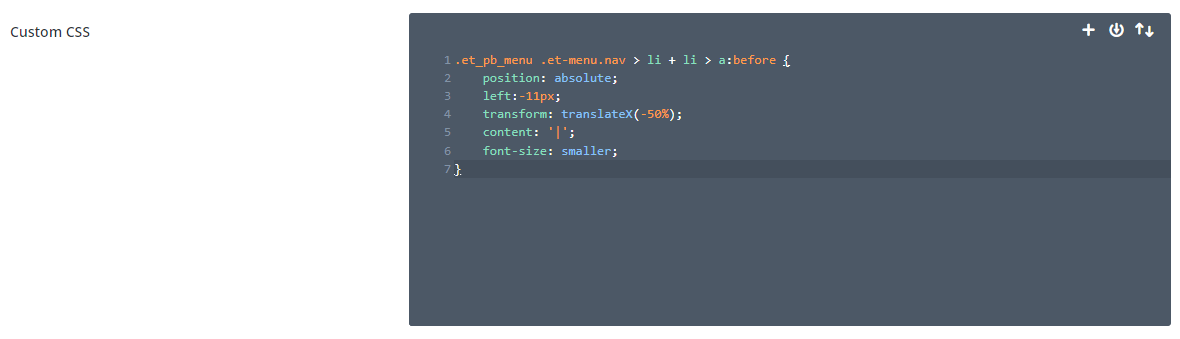
You can use the following CSS code to add vertical bars to the menu module. Copy and paste it into the Custom CSS box, after anything else that is already in there:
.et_pb_menu .et-menu.nav > li + li > a:before {
	position: absolute;
	left:-11px;
	transform: translateX(-50%);
	content: '|';
	font-size: smaller;
}
Related Post: Adding CSS to the Divi Theme
Save the Divi Theme Options
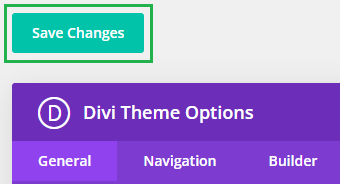
To apply the changes, we need to save the Divi Theme Options. This can be done by clicking the "Save Changes" button at the top or bottom of the Divi Theme Options area:
View the Result
Now, view your page on the front-end and you should see the vertical bars separating your menu items. If they don't show up right away, clear any caches you are using on your site and reload the page.
Conclusion
So there we have it, two straight-forward ways to make your Divi menu module items more distinct with vertical separator bars: using the Divi Booster plugin, or custom CSS. If you have any questions about either method, please feel free to ask in the comments!

Overriding the color doesn't seem to work. Which, is fine enough – but is there a way to manually remove a single instance? I have button CSS on the last item in my nav bar and it is showing up above the left edge of the button.
Hey dess, I think you should be able to what you want with this CSS:
.et_pb_menu .et-menu.nav > li + li:not(:last-child) > a:before {
 position: absolute;
 left:-11px;
 transform: translateX(-50%);
 content: '|';
 font-size: smaller;
 color: #ff0000;
}
It applies the separator to each gap, except the last one. The last line can be used to set the color (red in my example).
If that doesn't solve it, are you able to share a link to a page with your nav bar so that I can take a look for you? Thanks!
Hey! Thank you so much. I wasn't really expecting a reply, but you were super fast in responding and this worked *exactly* how I needed it to. I really appreciate it!
Hey Dess! Thanks so much for letting me know – I'm really glad it worked how you needed it to. If you have any further questions or need anything else, just give me a shout. Cheers!
Thank you – worked the best! Other's code made the bar way too tall! A+
Great! I'm glad to hear it helped, John :)
Thank you for this. Is there any way yo remove the bars from the dropdown menu portion?
You're welcome, Greg. I've just updated the CSS in the post to fix the issue of the bars from showing next to the dropdown menu items. I fixed the same issue in Divi Booster a while back (v3.5.2, I believe), so if you're using it to add the vertical bars to the menu module, updating to the latest version should solve the issue.
I hope that helps, but let me know if you're still having problems with it. Cheers!