When working with the Divi Theme Builder, it's quite common to create a custom header with multiple sections. You might want both sections to be sticky, but you may hit a snag with this setup: the first one starts off correctly as non-sticky, while the second one appears in the sticky state right away. This creates inconsistent styling as the sticky styles apply only to the second section instead of both upon initial load.
Here's an example of a two section header which is styled grey in its non-sticky state (this is how we'd want the header to display on page load). In its sticky state the sections are colored green and blue, which is how it displays after scrolling. Finally, we have the incorrect initial state which is what actually gets displayed on first page load – the top section is non-sticky and the bottom is in its blue sticky state:
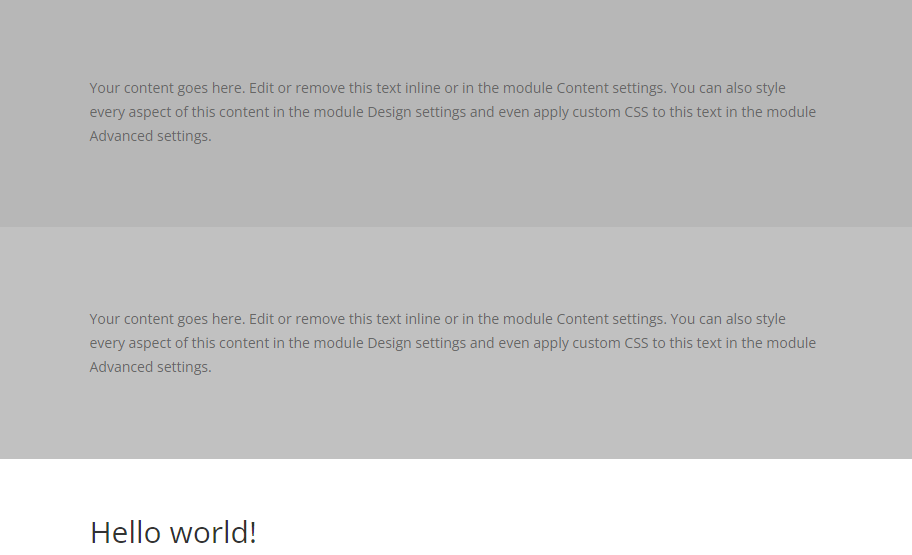
Non-sticky State
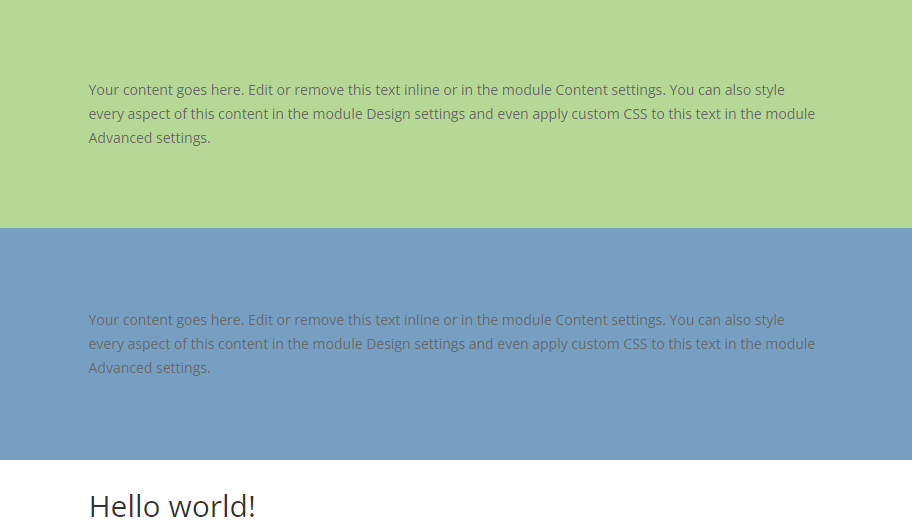
Sticky State
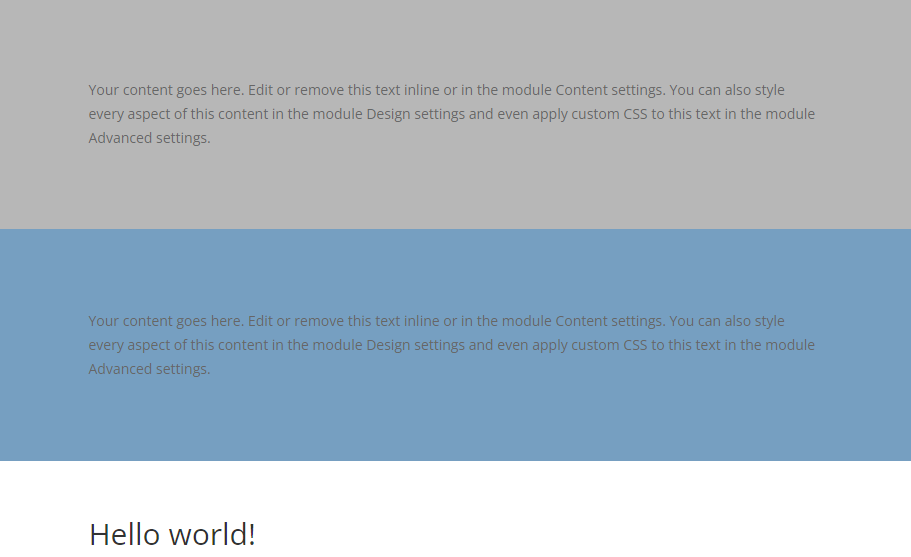
Initial State (Incorrect)
Why does this happen in Divi?
Divi seems to treat the first section differently from other sticky sections. It allows the first section in your header to begin as non-sticky, which is great for single-section sticky header situations. This setup lets the header start in its regular state and become sticky as you scroll down.
But, here's the problem: Divi also seems to anticipate other sticky situations, like social media bars that need to appear sticky immediately when the page loads in a scrolled state. Consequently, Divi tends to treat sections beyond the first as sticky content, which should be sticky 'right out of the gate' so to speak. This assumption means your second header section shows up as sticky immediately, since it's already in the position in the page at which it becomes sticky.
Hence you end up with the first section in a non-sticky state and the second section in a sticky state.
Fixing the Multi-Section Sticky Header
Don't worry; there's a couple of straightforward fixes to get your header sections behaving nicely.
Merge Sticky Sections
The first solution is to merge your header elements into one section. This ensures they share the same sticky behavior, starting as non-sticky and becoming sticky together as you scroll.
Adjust Sticky Settings
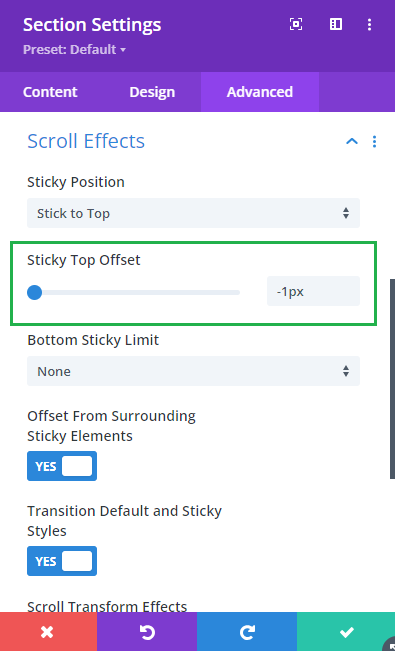
Another method is to tweak the settings of your second sticky section. By changing:
Section Settings > Advanced > Scroll Effects > Sticky Top Offset = -1px
…you essentially tell Divi, 'Don't go sticky until at least one pixel of scroll has occurred.' The result? The section begins as non-sticky and transitions to sticky just after a slight scroll – exactly what we want.
Conclusion
Handling multiple sticky sections in Divi Theme Builder can be a bit fiddly, but with a little know-how, you can ensure your header sections only become sticky when you intend them to. Whether you combine your header elements into a single section or adjust the Sticky Top Offset for the second section, you're now equipped to solve this sticky situation with ease.


0 Comments