Give your Divi layouts a polished, glassmorphism look by blurring the content behind a semi‑transparent Divi section, row or module. This effect enhances readability over busy or textured backgrounds while preserving the visual impact of your imagery and layout. In this guide we show you how to apply and fine‑tune background blur on a Divi module to create a clean, frosted‑glass panel.
Add a Frosted‑Glass Background Blur in Divi using Divi Booster
This method shows how to create a frosted‑glass panel using the Background Blur option added to Divi by the Divi Booster plugin. You can apply this effect to any Divi module, row, or section—so feel free to follow along with your favorite element.
Open Background Settings and Add a Semi‑Transparent Color
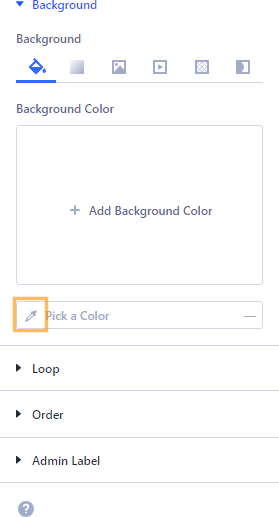
Open the settings for the section, row, or module you want to style. In the settings sidebar, select the "Background" group. Choose the Background Color option, and in the color picker, enter a color value (using a hex code like #ffffff for white). Adjust the opacity slider to set how transparent your background should be—around 40% (or 0.4) is a good starting point for a frosted-glass look. This semi-transparent layer will allow the blur to soften the elements behind your module without completely obscuring them.
Add Padding for a Polished Panel
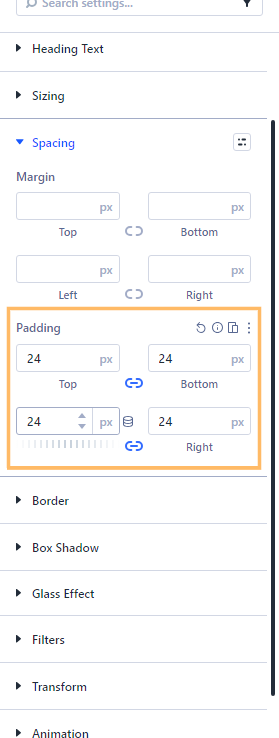
With the same settings panel open, go to the "Design" tab and expand the "Spacing" group. Here, add padding (for example, 24px) to the top, bottom, left, and right sides. This padding creates space around your content, helping your frosted-glass effect appear more refined and balanced.
Optionally Add a Border for Contrast
For a classic glassmorphism effect, you can add a thin, semi-transparent border. In the "Design" tab, open the "Border" group. Set the border width to a subtle value like 2px, and pick a white (#ffffff) border color with partial opacity (around 60%). This adds a soft edge that separates your frosted panel from the background.
Set the Glass Effect Blur Strength
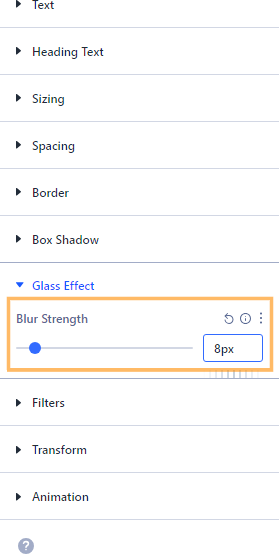
With your module, row, or section still selected, open the "Glass Effect" group in the "Design" tab. Find the "Blur Strength" field and set it to your preferred value. A blur strength of 8px is a great starting point for a noticeable but not overpowering effect. Feel free to experiment with higher or lower values to suit your background and design.
Save and Preview Your Frosted Glass Effect
Once you've set your background color, padding, border, and blur strength, save your changes and preview your page. You'll see your Divi module, row, or section beautifully styled with a modern frosted-glass effect, allowing your background image or texture to softly show through.

Conclusion
Adding a frosted-glass blur to your Divi modules is an easy way to achieve an elegant, glassmorphism style in your layouts. With a few simple settings, you can create overlays that look sharp and improve readability on any background.


0 Comments