The Divi theme comes with a social media follow module which lets you add icons from a range of social networks into you pages, and Divi Booster adds approximately 300 additional icons. But what if you need an icon not covered by either. Here's how to add your own custom social media follow network icon images.
Adding a Custom Social Media Network using Divi Booster
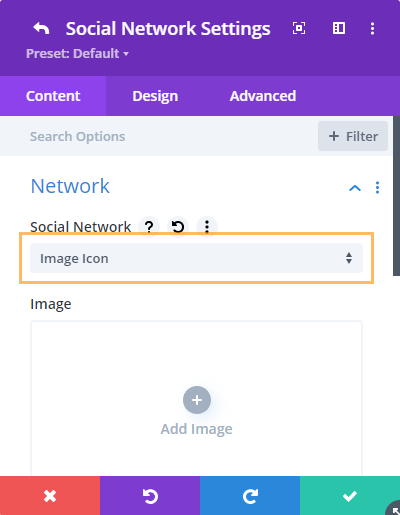
Divi Booster adds a new "Image Icon" option to the social media follow module, which can be used to upload an image icon of your choice.
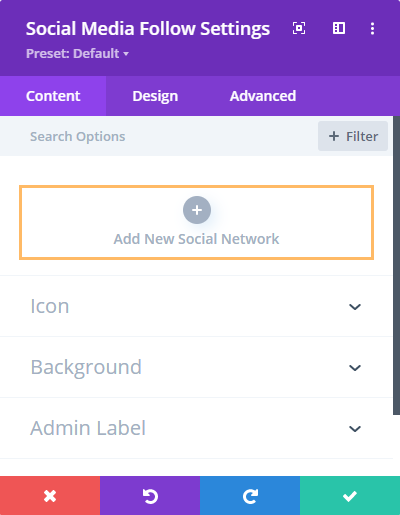
To use it, first add a new social network to your social media follow module (or edit an existing one):


This option is available from Divi Booster 3.5.3 upwards.
Adding a Hover Effect on the Custom Icon
The custom icon is an uploaded image, rather than a font icon as is the case for the other social icons supported in the module. This means, unfortunately, that it won't be affected by the color options in the module settings' design tab. As such these settings can't be used to give the custom icon a different color on hover.
An alternative is to create and upload two versions of the custom icon image – one for the default state and one for the hover state.
To set a different image to be displayed on hover, return to the image uploader in the social network settings, then hover over the setting name: 'Image'. This will bring up the setting's advanced options. Click on the 'hover' pointer icon. like so:


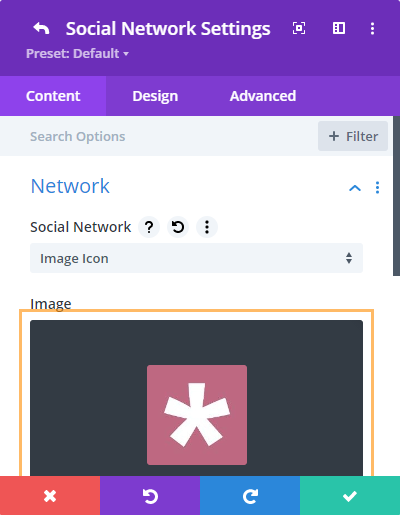
You can now click on the image and replace it with your hover image.
Now save the module settings, and the page.
When you view the page on the front-end, you should then see the hover image displayed when you hover over the icon.
The hover image option is supported in Divi Booster 3.7.0 upwards.


No matter what image I choose it is inserting the a for Amazon when I use the "Image Icon" setting even though it is showing my image in the module.
Hi Susan, this is a known limitation with Divi's Visual Builder, which doesn't offer a way for modifying the preview of built-in modules like the social media follow module – so you won't see the image icon in the visual builder. The custom image icon should still display properly on the published/live site, even if it doesn't look right in the builder view. I took a look at the site and your custom icons were showing correctly in the menu module. If you’re not seeing your chosen image icon on the live site, please try clearing both your site and browser caches. If clearing caches doesn’t help, could you point me to the particular social media module you're having trouble with? Thanks!
Hey! Thanks for the tutorial. However, no as i added the image, and I cannot control its color in hover mode, even though I added .svg file. Is there any way to treat the new icon as a vector with all the functionality?
Hey Varvara! The custom icon is an uploaded image, rather than a font icon as is the case for the other social icons supported in the module. This means, unfortunately, that it isn't affected by some of the design options in the module settings' design tab. As such these settings can't be used, for example, to give the custom icon a different color on hover. I haven't yet found a good way to enable these settings for images – but I'll update here if I do. One possibility in the meantime, is to create a "hover" version of the image (e.g. in image editing software) and then have the icon switch to it when hovered. I've just gone ahead and enabled support for a hover version of the image, which will be in the next Divi Booster update. I'll update here with details when it's available – hopefully later in the week. I hope it helps.
Hey Varvara, I've just released the update (v3.7.0) and updated the post with details on how to add a separate hover image to the custom image icon. I hope it goes some way towards achieving the effect you're after. Give me a shout if you have any questions about it, etc. Cheers!
Sweet. Just added a few real estate related icons/links in the Social Media module and it came out perfect.
Great! I'm glad it helped, and thanks for the feedback, Randy. Much appreciated.