Aligning your website's footer menu enhances its appearance and ensures it matches your site's overall design. By customizing the alignment, you can improve navigation clarity and deliver a more polished look to visitors. In this guide we show you how to change the alignment of the footer menu in the standard Divi footer configuration.
Adjust the Alignment of the Footer Menu in Divi using Divi Booster
This method demonstrates how to adjust the alignment of your Divi footer menu using the Divi Booster plugin. By following these steps, you can easily center, left, or right align your footer menu through a user-friendly settings interface, making it simple to achieve your desired layout without editing code.
Open Divi Booster Footer Menu Alignment Settings
To begin, head to your WordPress dashboard and look for the 'Divi' menu in the left-hand sidebar. Click on it, then select 'Divi Booster' from the expanded options. Once on the Divi Booster settings page, scroll to the 'Footer' panel and expand it. Next, open the 'Footer Menu' subsection to view the footer menu-related options.
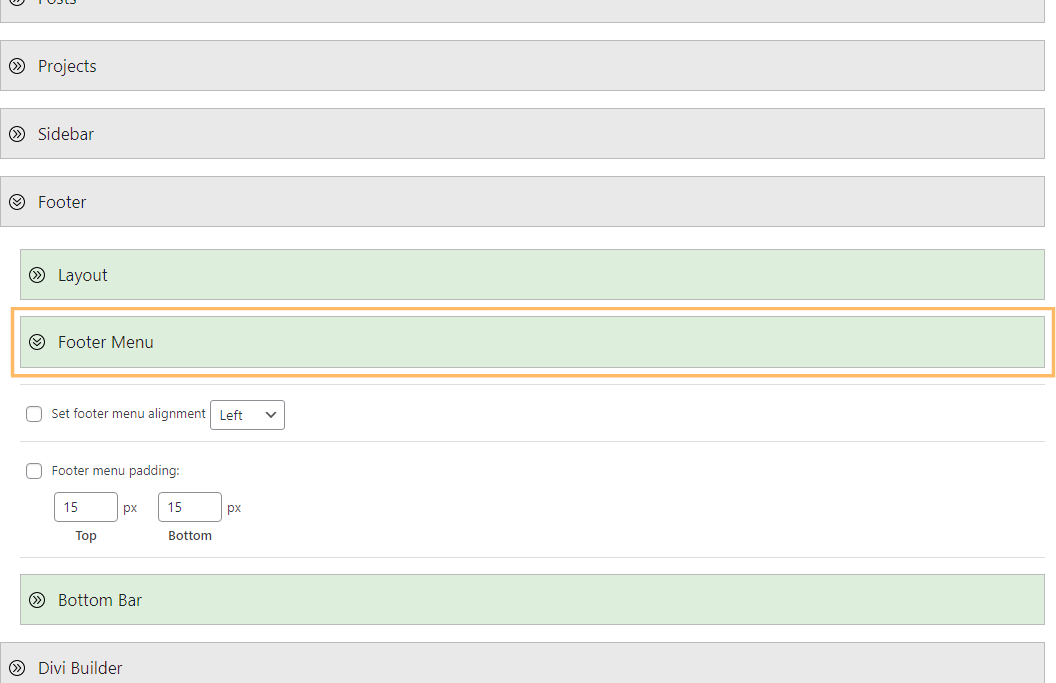
Enable and Set Footer Menu Alignment
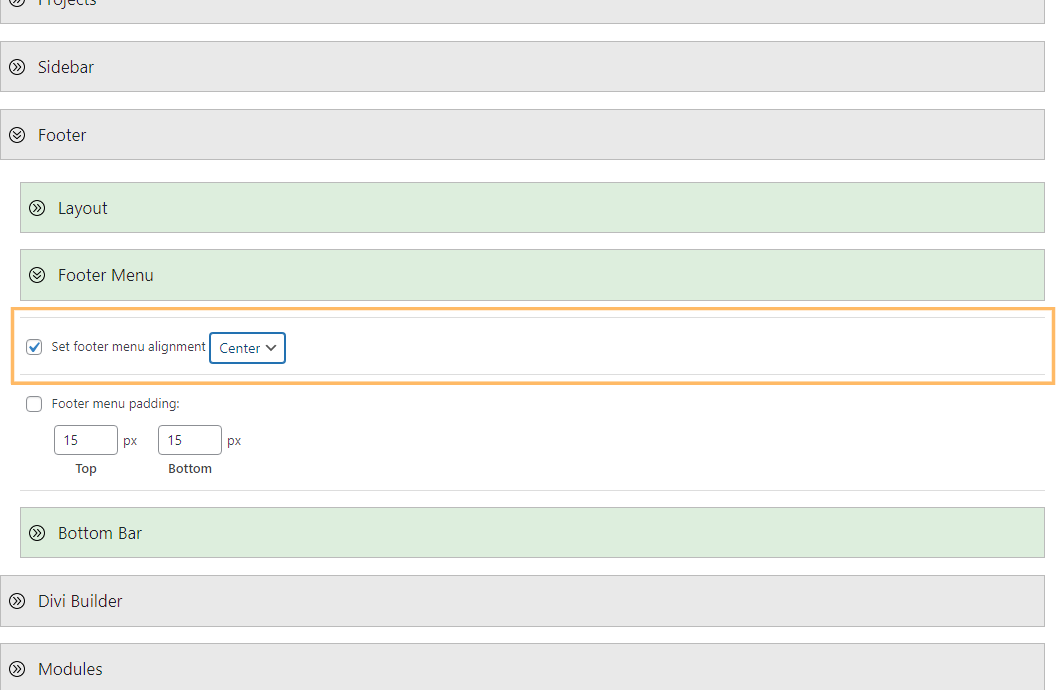
Within the 'Footer Menu' settings, enable the 'Set Footer menu alignment' checkbox. Once enabled, you'll see a dropdown menu to choose your preferred alignment—Left, Center, or Right. Select 'Center' to align your footer menu.
Save and Preview Your Changes
After making your selection, don't forget to click the blue 'Save Changes' button at the bottom or top of the page to apply your new settings. Now, visit your website's homepage and scroll down to the footer. You should see your footer menu centered as expected.

Adjust Footer Menu Alignment in the Standard Divi Footer using Custom CSS
This method demonstrates how to change the alignment of the footer menu in the standard Divi footer by applying custom CSS. It is ideal if you want precise control over the menu's alignment, enabling you to center the menu directly through the Divi Theme Options without modifying theme files or templates.
Open the Divi Theme Options and Locate Custom CSS
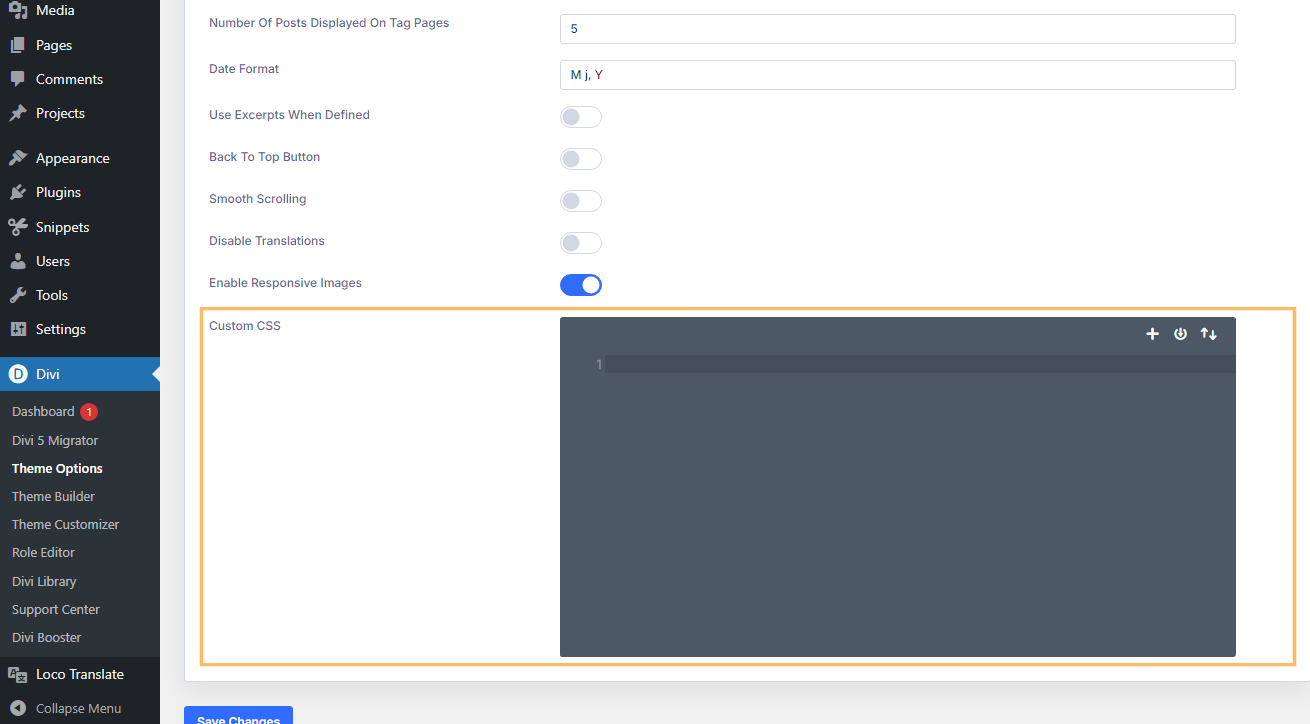
From your WordPress admin area, click on the 'Divi' menu, then select 'Theme Options' to open the Divi Theme Options page. Scroll down within the General tab until you find the 'Custom CSS' section—a large box where you can add your code.
Add CSS Code to Center Footer Menu
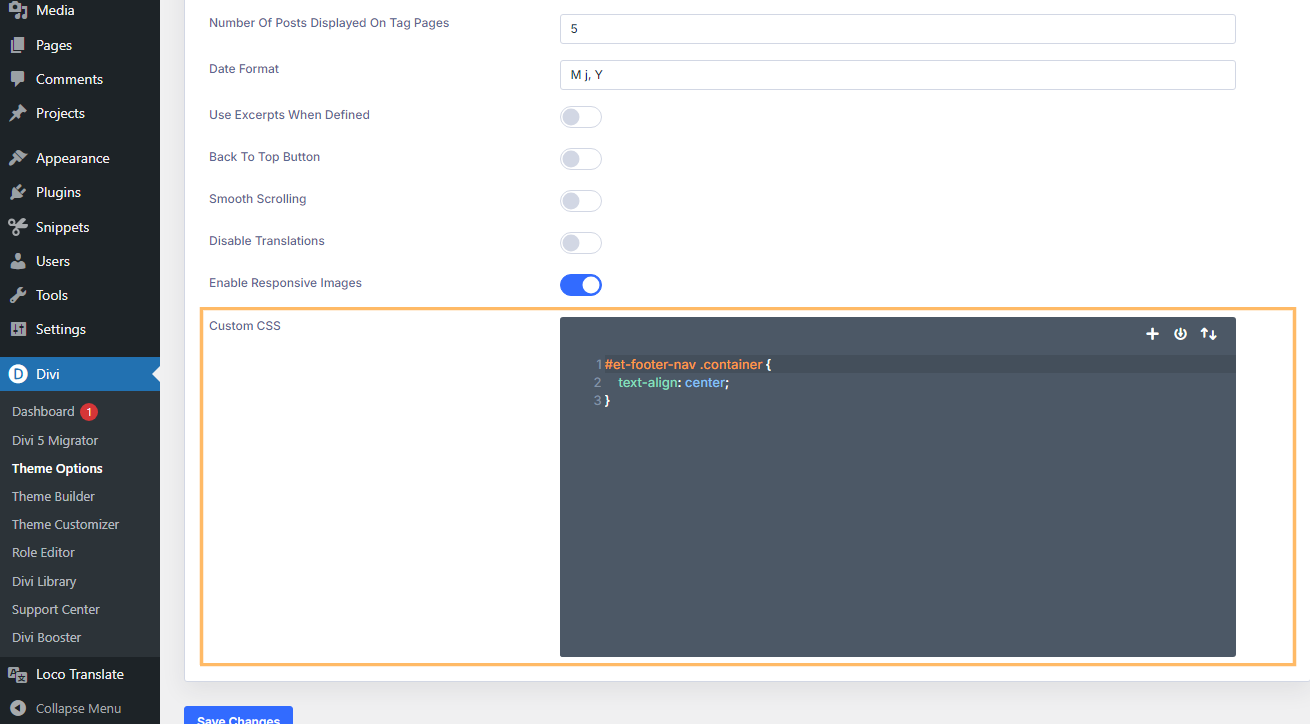
In the Custom CSS section, paste the following code to center your footer menu:
#et-footer-nav .container {
    text-align: center;
}
Save and Preview Your Footer Menu Alignment
Once you've added the CSS, be sure to click the 'Save Changes' button. Head to your site, refresh the homepage, and scroll down to the footer. Your footer menu should now be centered just as you wanted.

Conclusion
And that's it! With these simple steps, you can easily align your Divi footer menu to achieve a polished and customized look for your website.


0 Comments